How to Style Pearl Nails for a Luxury Bridal Look
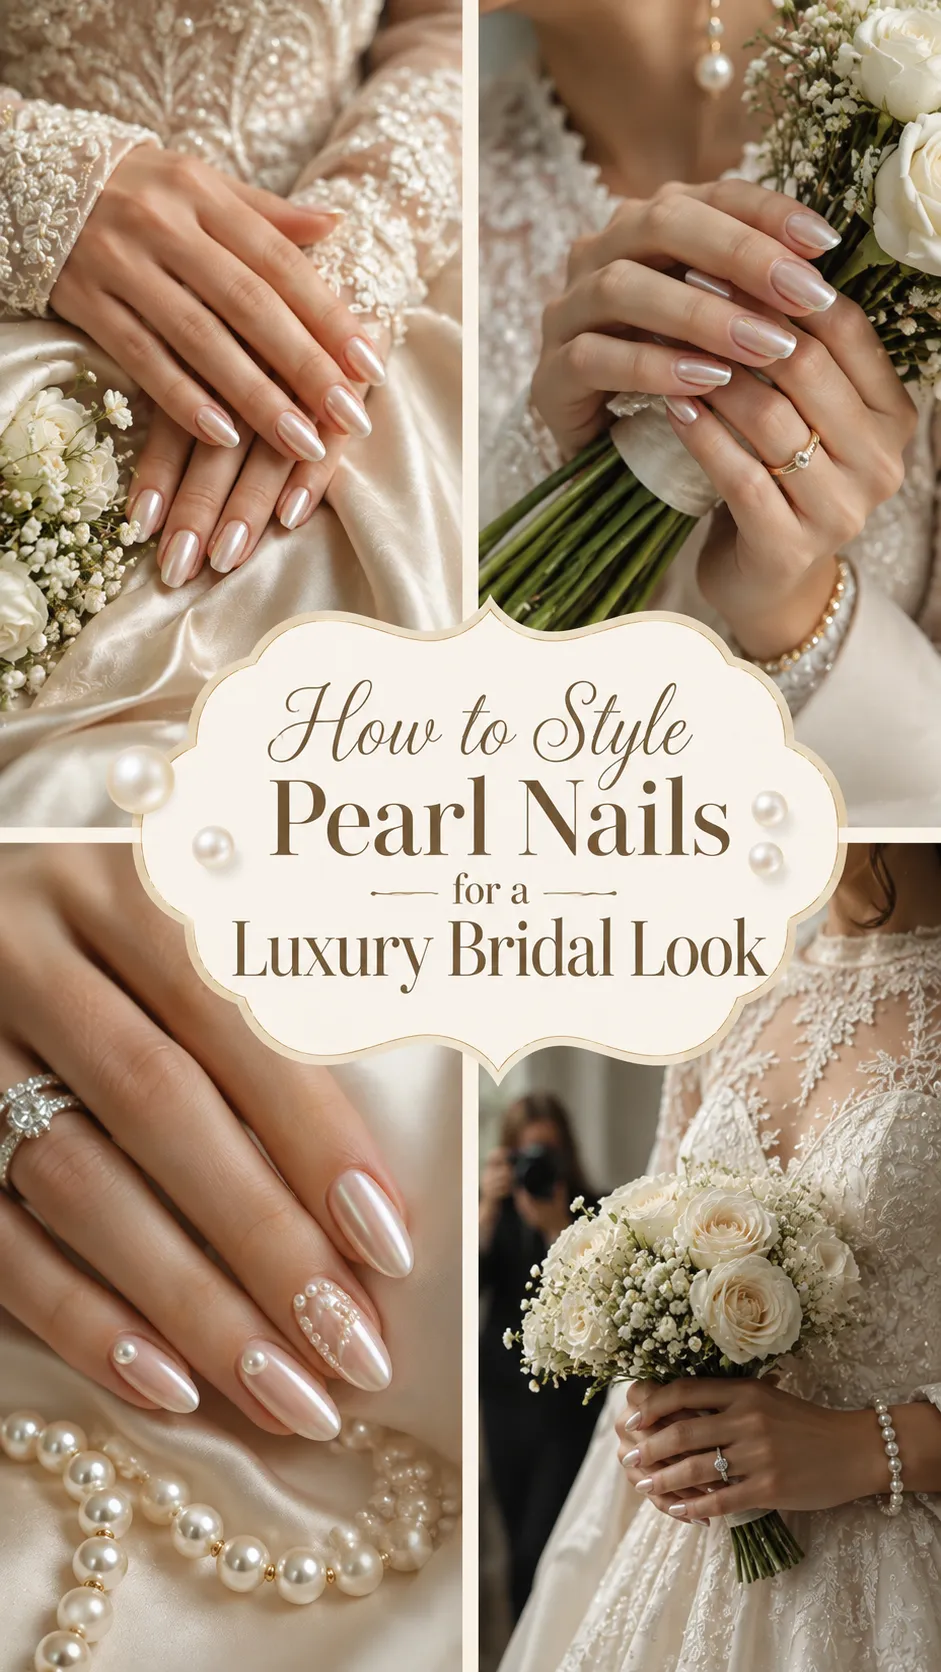
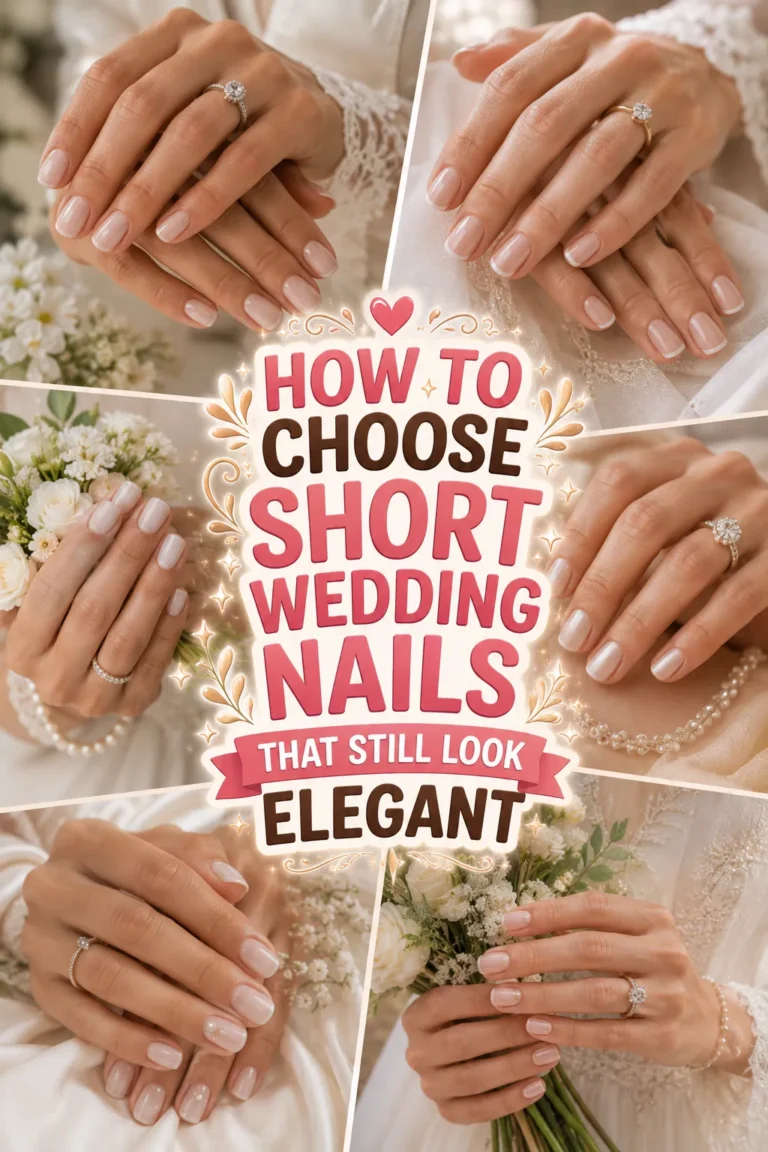
Pearl nails have a way of making a bridal manicure look instantly polished. They catch the light without the obvious sparkle of glitter, complementing everything from a clean satin gown to an intricately beaded dress.
But luxury is rarely about adding more. The most sophisticated pearl manicures use sheen, texture, proportion, and restraint to create a finish that feels expensive rather than overly decorated.
Whether you prefer barely-there elegance or modern bridal glamour, these elevated pearl nail ideas can help you create a manicure worthy of the big day.
1. Start With the Right Pearl-Toned Base
The foundation determines whether pearl nails look refined or overly white.
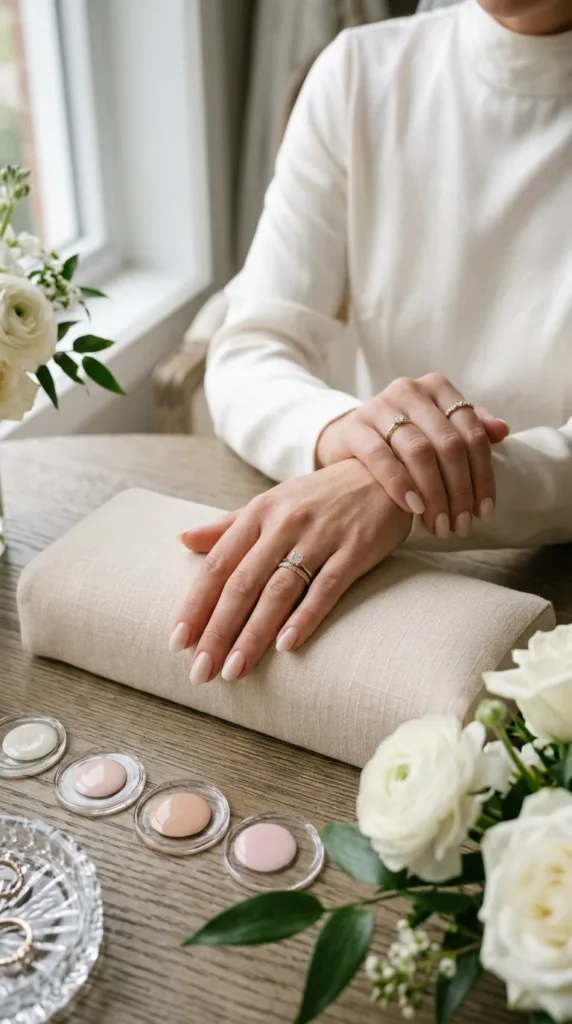
Instead of choosing an opaque white immediately, consider translucent ivory, soft blush, warm nude, or milky pink. These shades allow a hint of your natural nail to show through and create a softer, more dimensional finish.
For a luxury bridal look, the color should almost appear to glow from within.
This is especially beautiful against an ivory wedding dress because the manicure feels coordinated without looking like an exact color match.
2. Choose Pearl Chrome for Modern Luxury
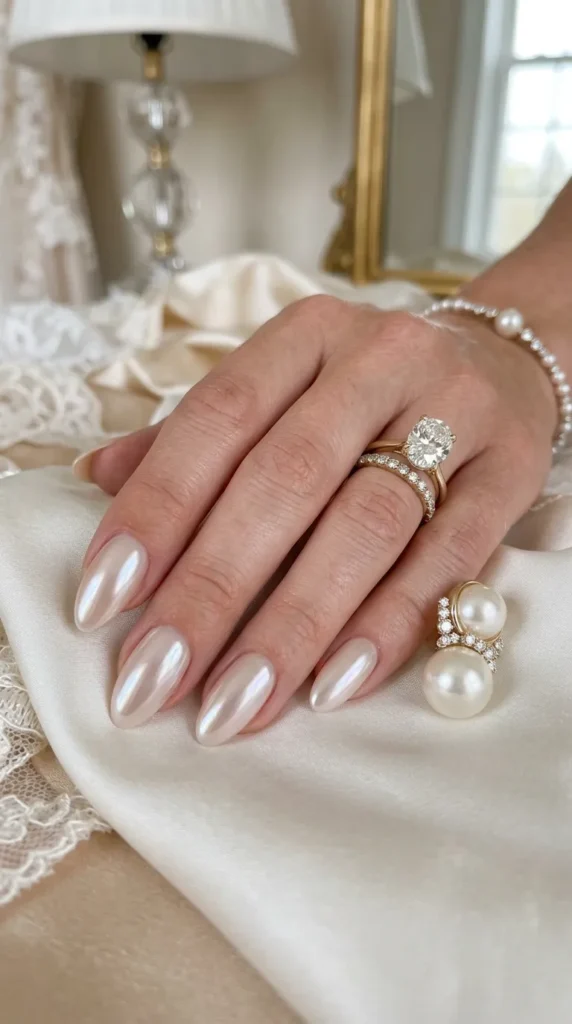
Pearl chrome is ideal if you want your nails to look luminous rather than traditionally decorated.
A sheer neutral base combined with a fine pearlescent finish creates a smooth reflection that changes subtly as your hands move.
Unlike strong metallic chrome, pearl chrome has a softer bridal quality. It photographs beautifully under natural light and can complement diamonds, pearls, and polished metals without competing with them.
Keep the surface glassy and even for the most elevated result.
3. Try a Soft Oyster-Shimmer Finish
For something more distinctive than classic white, consider an oyster-inspired pearl shade.
Think soft ivory with hints of champagne, blush, or cool silver depending on the lighting.
This subtle color variation gives the manicure depth and makes it feel more editorial.
It works particularly well with minimalist gowns because the nails become a quiet luxury detail rather than another obvious bridal accessory.
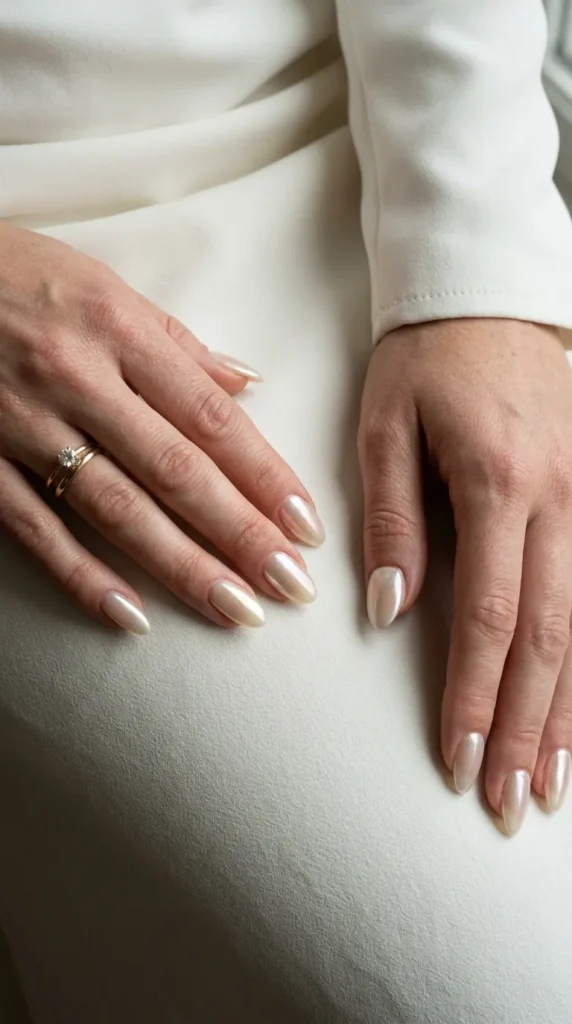
4. Make a Pearl French Manicure Your Signature Detail
A traditional French manicure can become much more luxurious with a pearlescent twist.
Start with a sheer pink or nude base and create an extremely fine French tip using soft white or pearl-toned polish.
Instead of a stark contrast, the tip should blend gently into the base.
For an even more modern finish, use a translucent pearl effect over the entire nail after creating the French detail.
The result is recognizable, elegant, and far from ordinary.
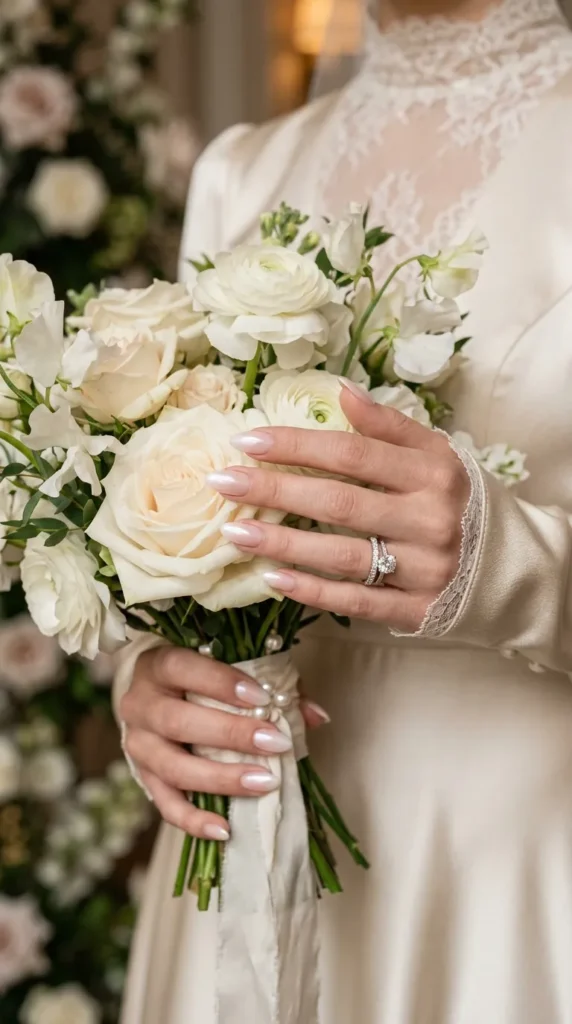
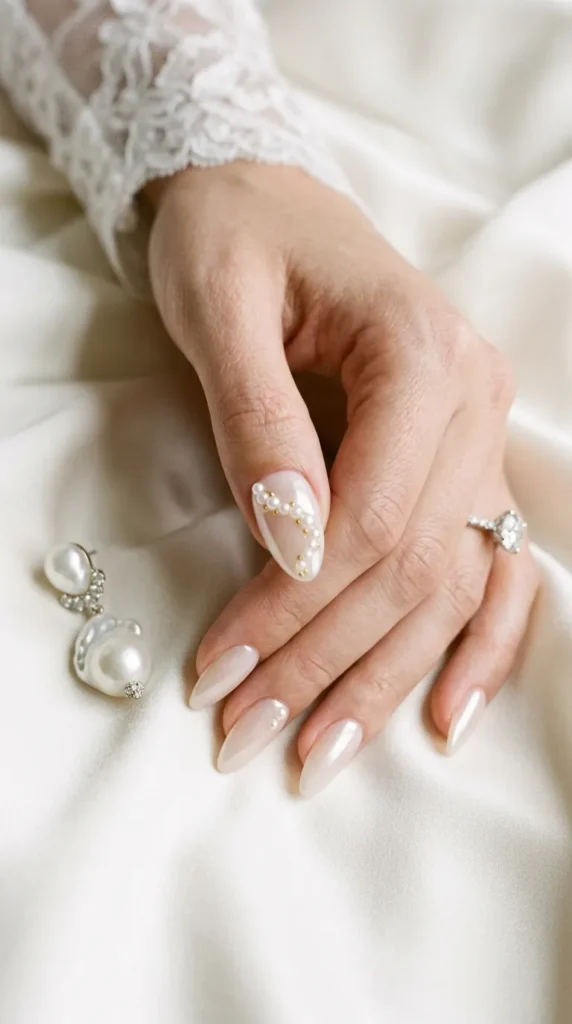
5. Use Three-Dimensional Pearls Sparingly
Actual pearl embellishments can create beautiful texture, but placement matters.
Rather than covering every nail, choose one or two accent nails.
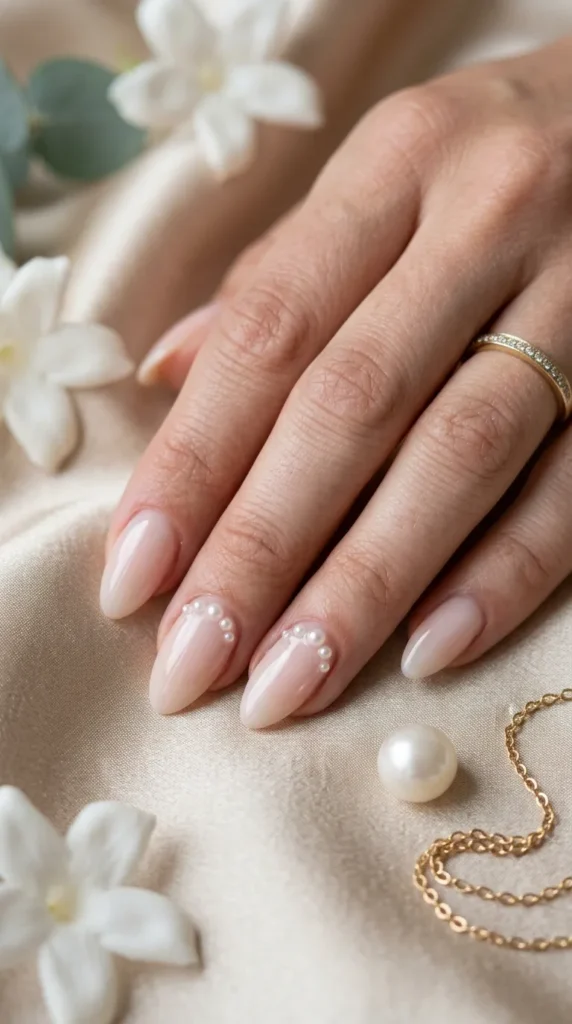
A single miniature pearl near the cuticle can look incredibly sophisticated. A tiny cluster following the curve of a French tip can create a more fashion-forward effect.
Think of the pearls as jewelry for your fingertips.
The less crowded the placement, the more luxurious each detail appears.
6. Pair Pearls With Fine Gold Details
Pearls and gold create a naturally warm bridal combination.
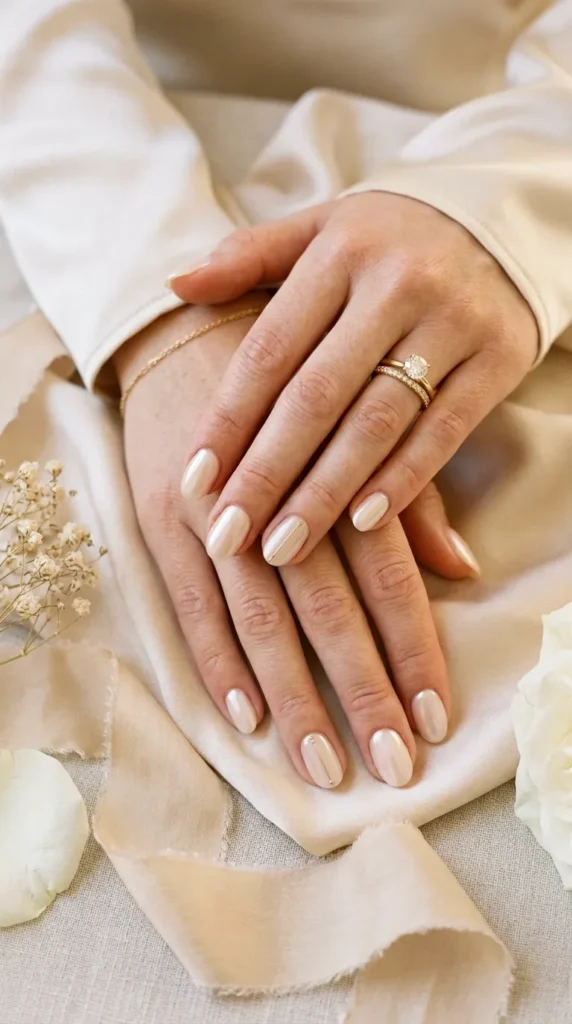
For a sophisticated design, start with a sheer ivory or blush base and introduce extremely thin gold accents.
A delicate gold line, tiny metallic dot, or minimal French edge can provide just enough contrast against the pearlescent finish.
This works especially well if you’re wearing yellow-gold or champagne-toned jewelry.
Avoid large metallic shapes that could overpower the soft quality of the pearl finish.
7. Create a High-Fashion Pearl Accent Nail
If you want something more editorial, make one nail the artistic focal point.
Keep most nails sheer and luminous, then add a refined arrangement of pearls to a single accent nail.
You could create a curved line, minimalist cluster, or delicate asymmetrical arrangement.
The surrounding nails should remain relatively quiet.
This creates the visual effect of a jewelry collection where one piece is intentionally more dramatic.
8. Match the Finish to Your Wedding Dress
Your dress can tell you which pearl manicure will work best.
Satin: Choose glossy pearl chrome or a smooth oyster finish.
Lace: Try sheer blush nails with tiny pearl embellishments.
Beaded gowns: Keep the manicure simpler with a luminous milky finish.
Minimalist gowns: Let the nails become a subtle statement with pearl chrome.
Romantic floral gowns: Consider blush pearl tones with tiny botanical details.
The manicure should complement the fabric rather than compete with it.
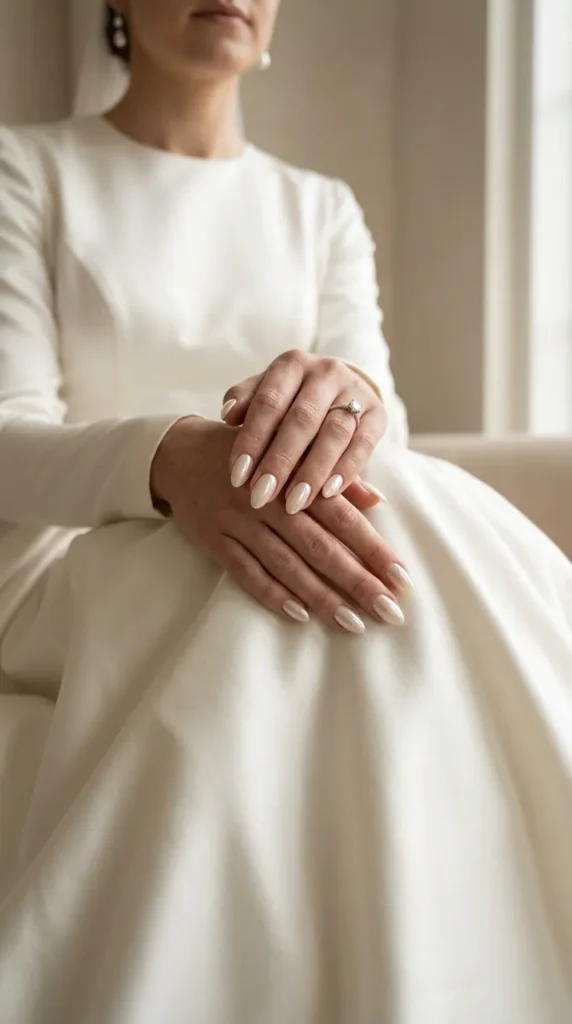
9. Coordinate With Your Bridal Jewelry
Your hands will be photographed constantly on your wedding day, so your manicure should work naturally with your jewelry.
Pearl earrings, pearl hair accessories, diamond rings, and delicate bracelets can all work beautifully with a pearl manicure.
But avoid trying to repeat every accessory detail on your nails.
If your jewelry is already elaborate, choose a soft pearl finish. If your jewelry is minimal, you can introduce slightly more texture through the manicure.
Luxury styling is often about knowing when to stop.
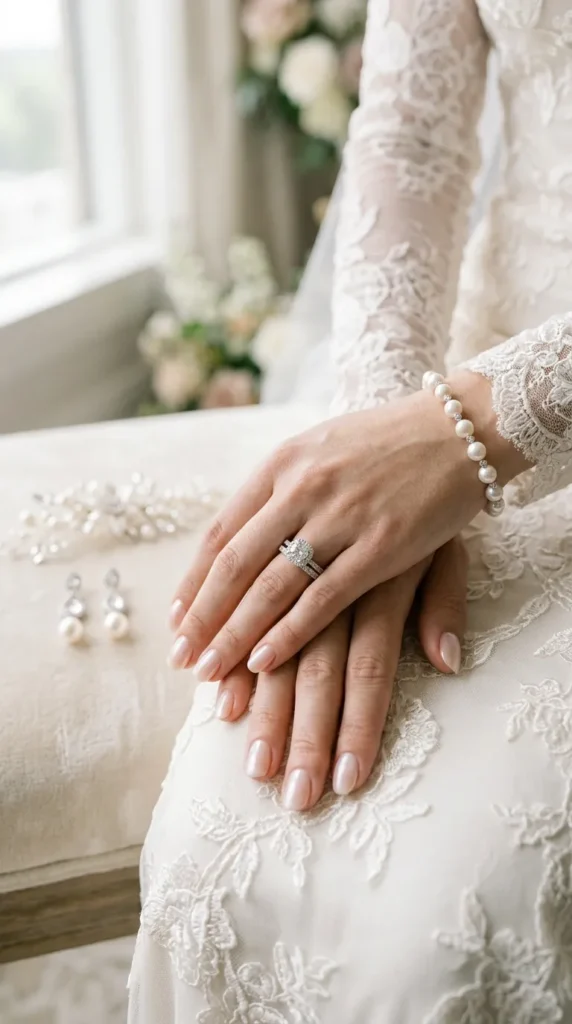
10. Choose the Nail Shape Carefully
Pearl finishes can look completely different depending on the nail shape.
Soft almond nails create an elongated, feminine appearance and work beautifully with romantic bridal styling.
Oval nails feel classic and natural.
Short squoval nails can make pearl chrome feel more contemporary and understated.
Choose the shape according to your hands and natural nail length rather than selecting a shape simply because it is trending.
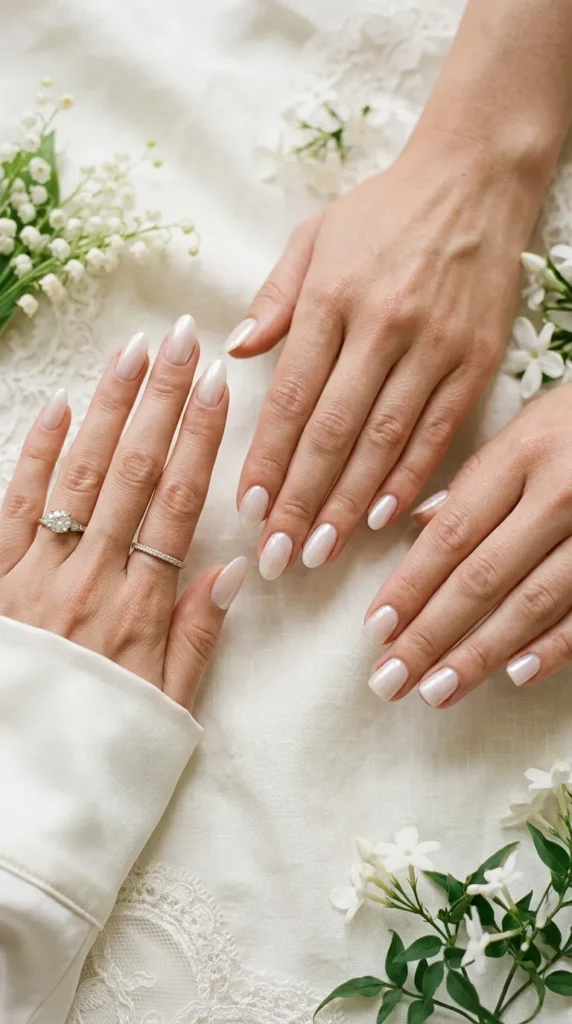
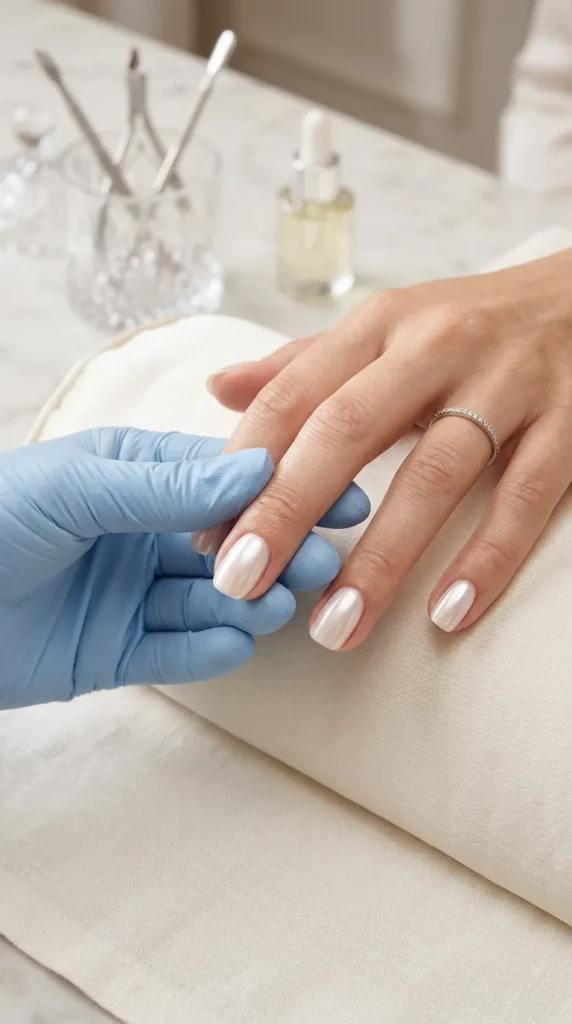
11. Keep the Cuticle Area Immaculate
A reflective manicure makes small imperfections more visible.
Before applying the final color, make sure the nails are carefully shaped and the cuticle area is neat and well cared for.
Avoid aggressive cuticle treatments immediately before the wedding.
The goal is a clean, healthy-looking nail bed that allows the pearlescent finish to look smooth and intentional.
This small detail can make a significant difference in close-up photographs.
12. Think About How Your Nails Will Photograph
Your wedding manicure won’t only be seen in person.
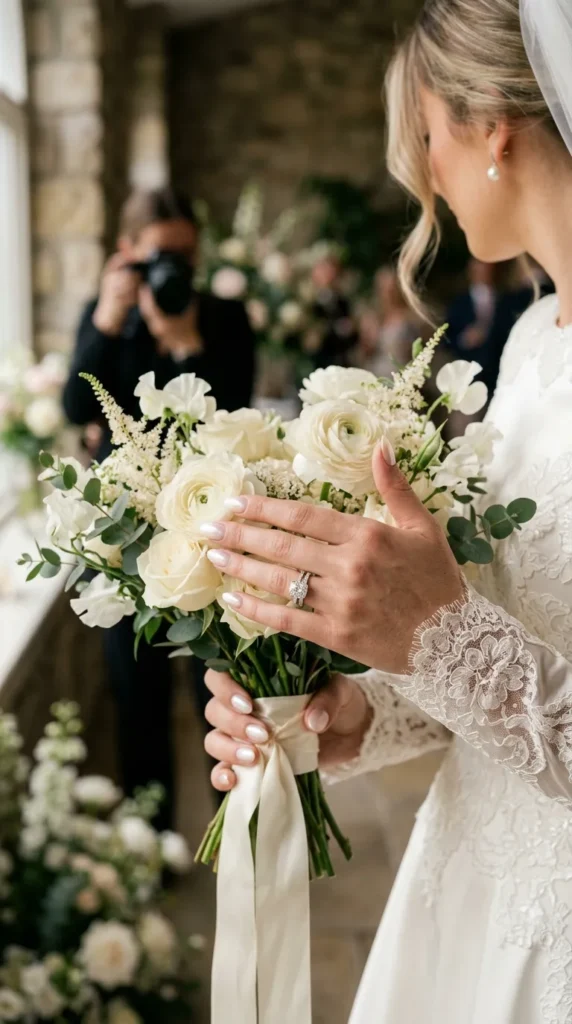
Your photographer may capture close-ups of your engagement ring, bouquet, invitation suite, champagne glass, dress details, and hands intertwined with your partner’s.
A pearl finish works beautifully because it reflects light softly without producing the harsh sparkle that some glitter-heavy designs can create.
Before committing to the final design, photograph a sample manicure in natural daylight and under indoor lighting.
You want the finish to look beautiful from every angle.
Conclusion
A luxury pearl bridal manicure isn’t about covering your nails in embellishments. It’s about creating a soft, luminous finish with carefully chosen details.
Milky ivory, blush pearl, oyster shimmer, pearl chrome, delicate French tips, and strategically placed three-dimensional pearls can all create an elegant result. The key is to keep the composition balanced and allow each detail enough space to be appreciated.
For the most sophisticated wedding-day look, think of your manicure as you would think of bridal jewelry: choose one beautiful idea, refine it, and resist the temptation to add everything at once.
The result will be timeless enough for your wedding album while still feeling modern, polished, and unmistakably luxurious.