How to Keep Wedding Nails Chip-Free All Weekend
Your wedding manicure has a big job. It needs to look flawless while you exchange rings, hold your bouquet, pose for close-up photographs, raise a champagne glass, hug your guests, and celebrate late into the night.
The good news? Keeping your wedding nails chip-free isn’t only about choosing the right polish. Timing, preparation, nail care, and a little protection throughout the weekend can make a noticeable difference.
Whether you’re wearing classic bridal white, a sheer nude, soft pink, French tips, or intricate wedding nail art, these practical tips can help your manicure stay polished from the rehearsal dinner through the final wedding photographs.
1. Start Preparing Your Nails Before the Wedding Week
Don’t wait until the day before your wedding to start caring for your nails.
In the weeks leading up to the celebration, keep your nails at a comfortable length and file them regularly to prevent cracks and uneven edges. Avoid aggressive buffing, picking at your cuticles, or using your nails to open packages.
Healthy, well-maintained nails provide a better foundation for any manicure.
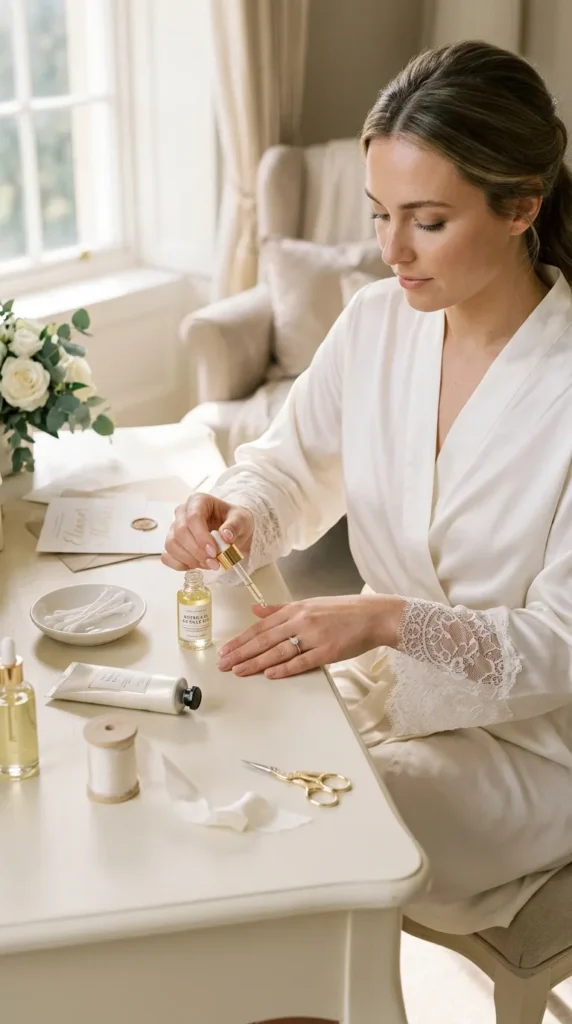
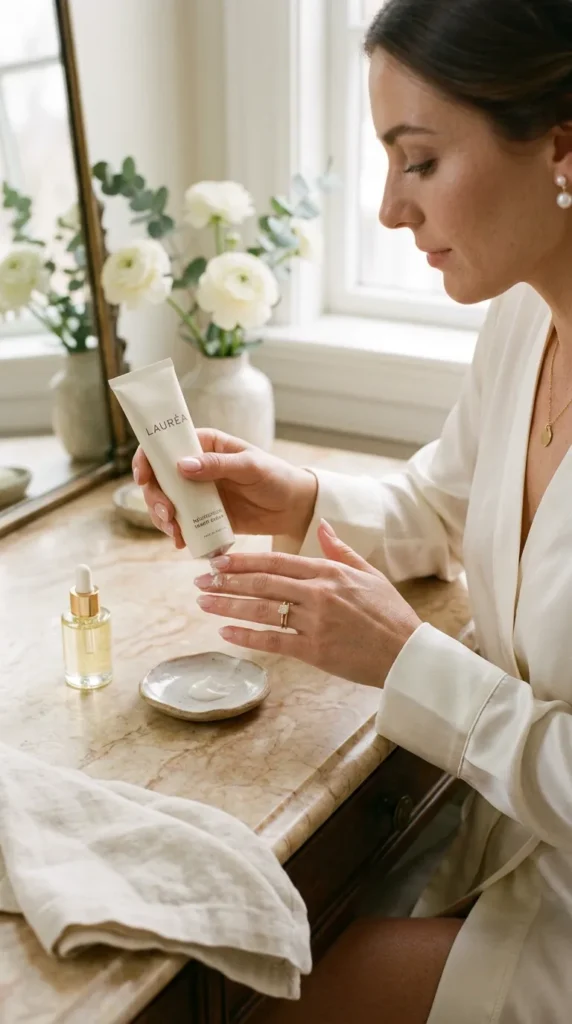
Apply cuticle oil regularly and keep your hands moisturized, especially if your skin becomes dry.
2. Choose a Manicure That Matches Your Weekend Plans
Your manicure should suit your lifestyle as much as your wedding aesthetic.
If you’ll be traveling, preparing decorations, helping with last-minute details, or spending lots of time outdoors, a durable gel or similar professional manicure may be more practical than traditional polish.
If you prefer natural polish, choose a high-quality formula and allow enough time for every layer to dry properly.
The prettiest manicure is only useful if it can handle your actual wedding weekend.
3. Schedule Your Manicure at the Right Time
Timing can make a huge difference.
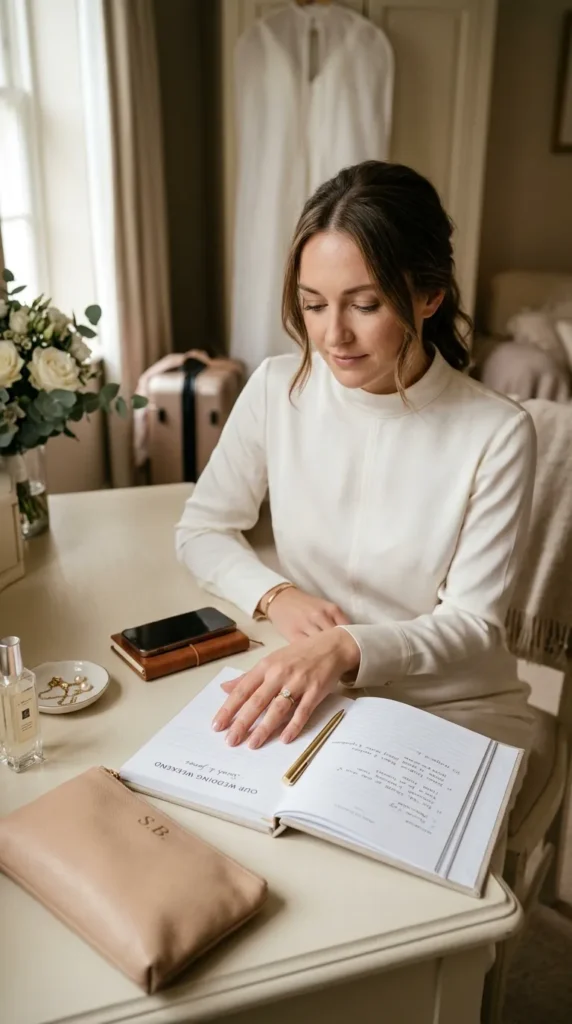
For many brides, booking the final manicure one or two days before the wedding gives the polish enough time to settle while keeping the nails looking fresh.
If you’re getting gel or another cured manicure, your nail technician can help determine the best timing based on your specific service.
Avoid booking too early, especially if you’re doing lots of hands-on preparation afterward.
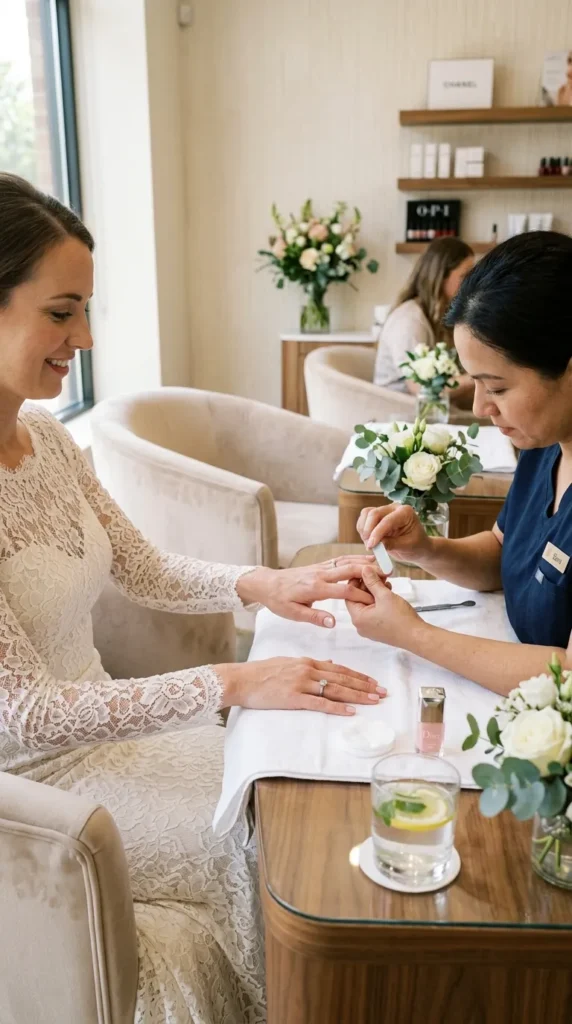
4. Don’t Skip the Base Coat
A good base coat does more than help polish stick.
It can create a smoother surface and help prevent staining from strongly pigmented colors. It also gives the polish something to adhere to, which can improve the overall longevity of the manicure.
Even with sheer bridal shades, proper preparation underneath the color can make the finished manicure look smoother and more professional.
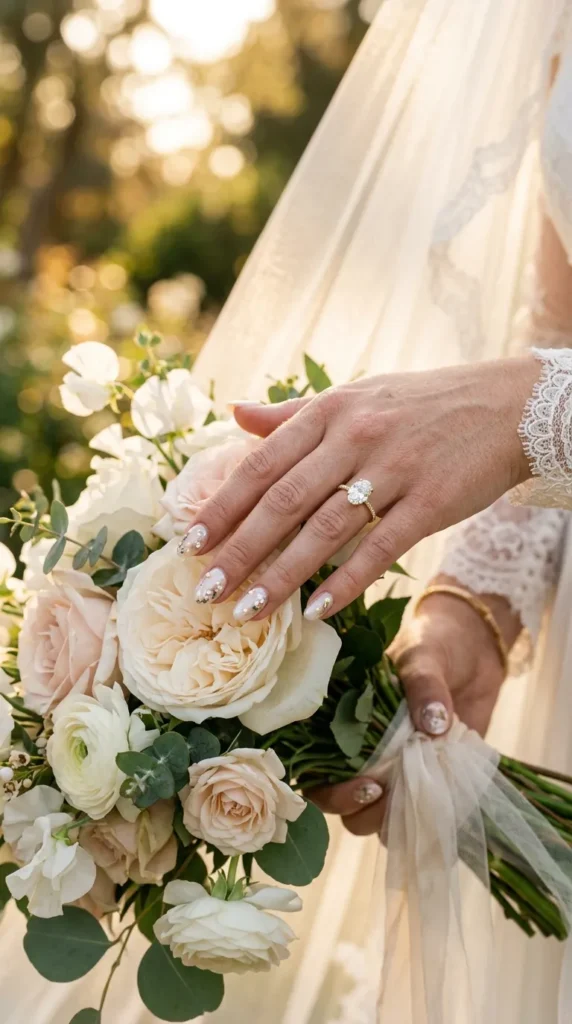
5. Finish with a Quality Top Coat
The top coat is your manicure’s protective layer.
A quality top coat can add shine, improve durability, and help protect the color from everyday wear.
If you’re using traditional polish, follow the product’s drying instructions rather than rushing the process.
For an especially glossy bridal look, a fresh top coat can make nude, pink, white, and French manicures look beautifully polished.
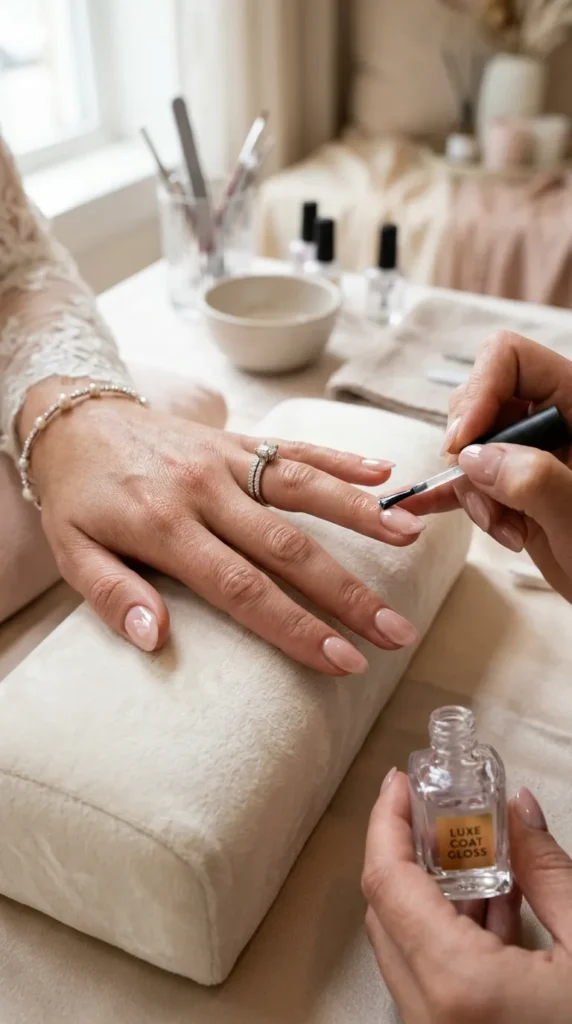
6. Give Your Nails Plenty of Drying Time
One of the easiest ways to ruin a fresh manicure is touching things before the polish has properly set.
Give yourself plenty of time after a traditional polish appointment. Avoid immediately putting on tight clothing, packing bags, washing dishes, or handling wedding decorations.
If you’re getting ready with your bridal party, schedule your manicure early enough that you don’t have to rush afterward.
A little extra time can prevent a frustrating last-minute chip.
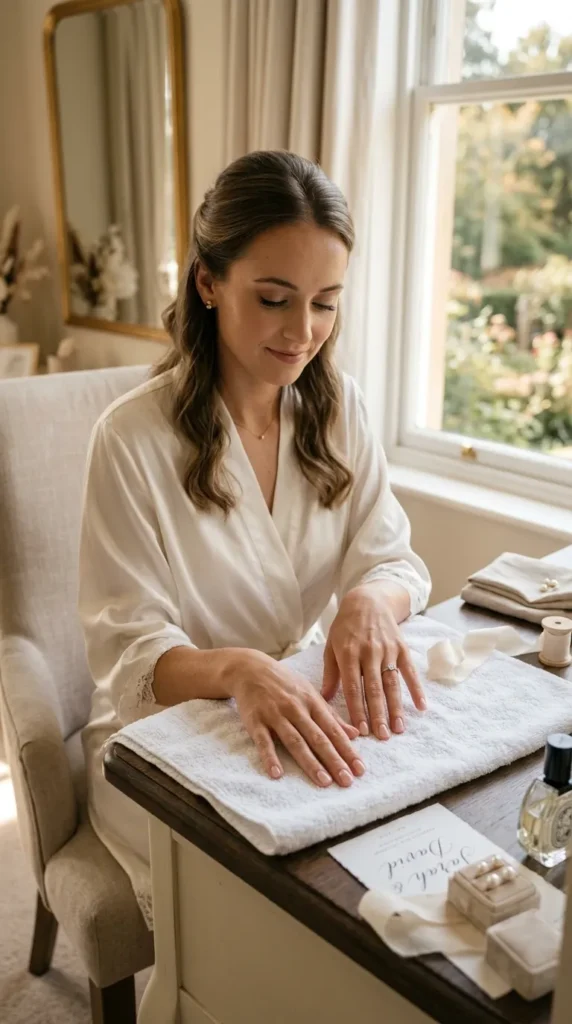
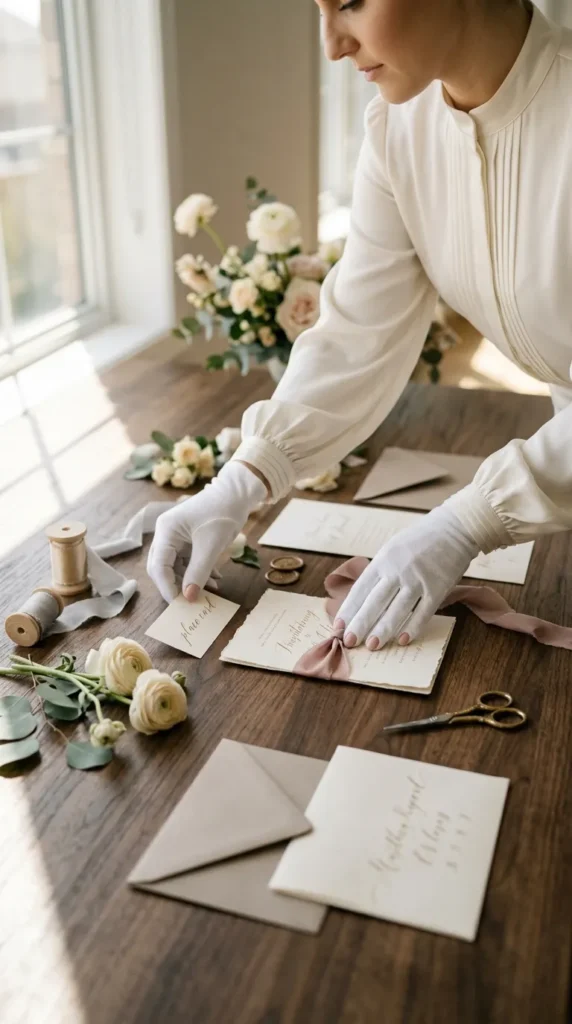
7. Protect Your Hands During Wedding Preparations
Wedding week can involve surprisingly hard work.
Opening boxes, moving decorations, arranging flowers, cleaning, cooking, and packing can all put stress on your nails.
Whenever possible, use your fingertips and palms rather than your nails when handling objects.
If you’re doing household chores, wear gloves to protect both your manicure and the skin around your nails.
Your nails shouldn’t be your tools.
8. Be Careful with Water and Cleaning Products
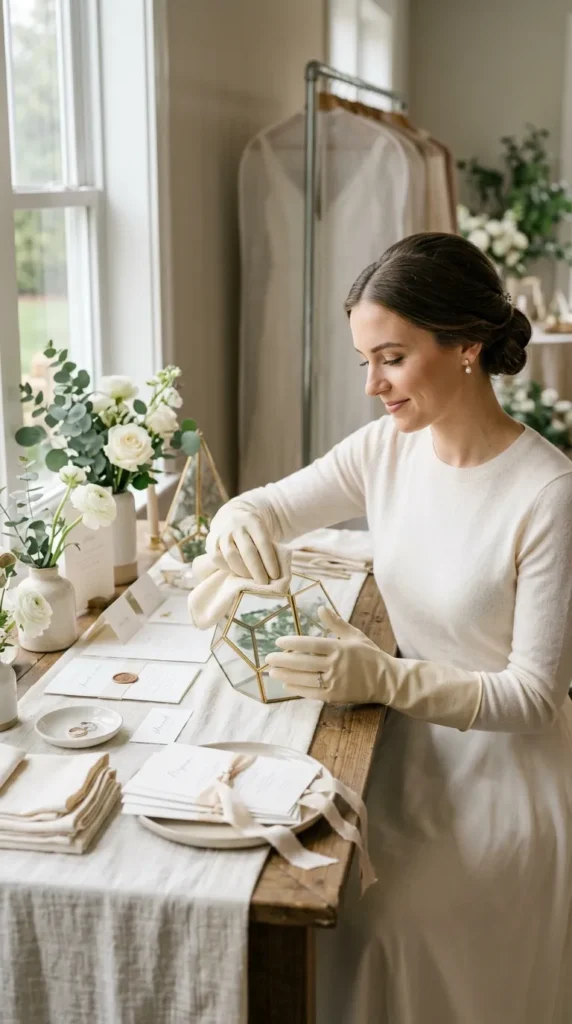
Repeated exposure to water and harsh cleaning products can be tough on manicures.
Don’t panic about washing your hands—that’s important. But avoid unnecessarily soaking your hands for long periods, particularly soon after a traditional polish application.
When cleaning or washing dishes, wear protective gloves.
After washing your hands, gently dry them and apply hand cream or cuticle oil to keep the surrounding skin comfortable and moisturized.
9. Keep a Tiny Emergency Nail Kit
Even the most durable manicure can encounter an accident.
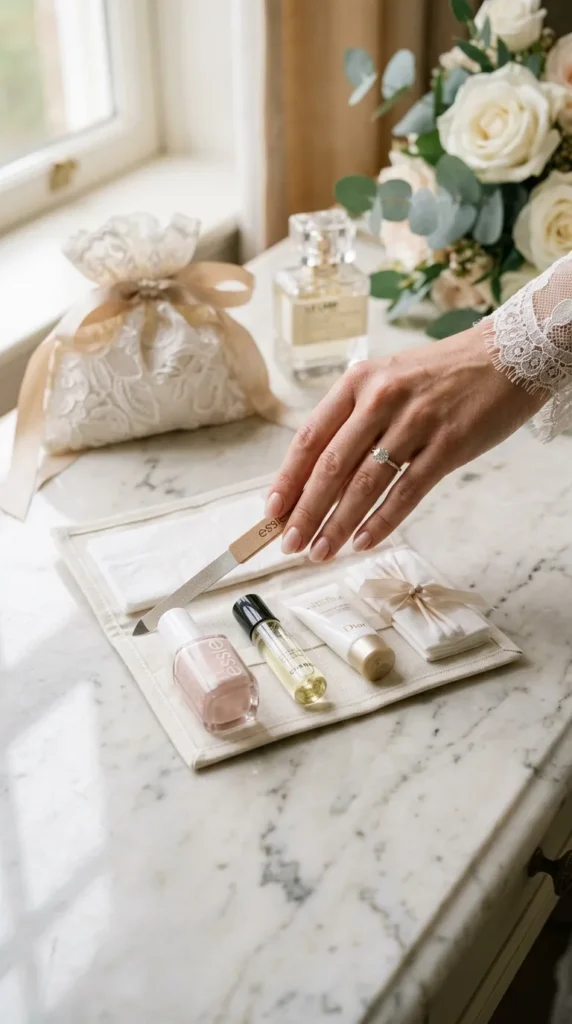
Pack a small emergency kit in your bridal bag containing:
- Your nail polish color
- A small nail file
- Cuticle oil
- Nail glue if appropriate for your nail service
- Cotton swabs
- Hand cream
- A few tissues
If you notice a rough edge, gently file it rather than picking at it.
For gel, extensions, or other professional services, ask your nail technician what repair product is appropriate rather than attempting an unsuitable DIY fix.
10. Be Careful with Your Rings and Accessories
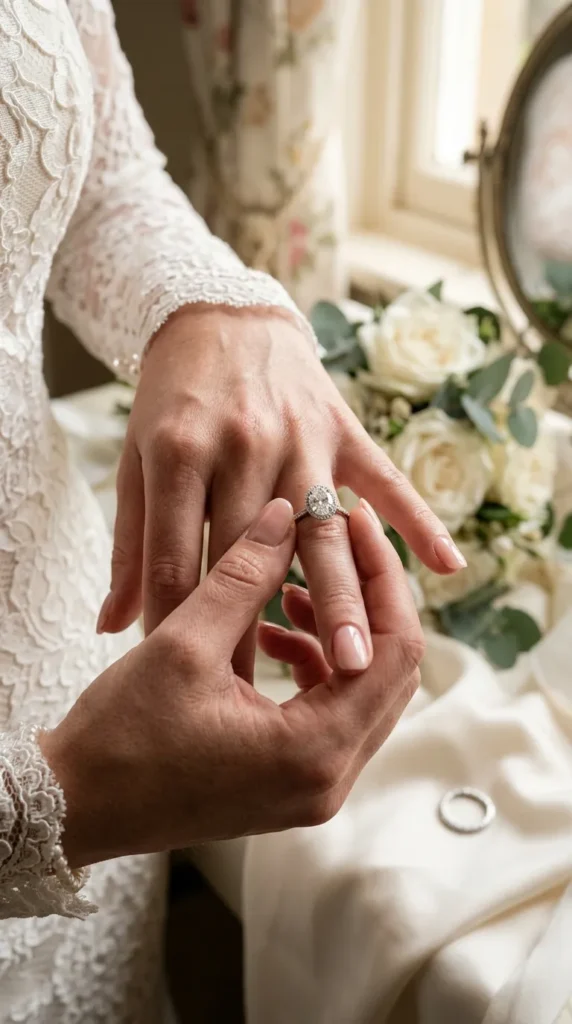
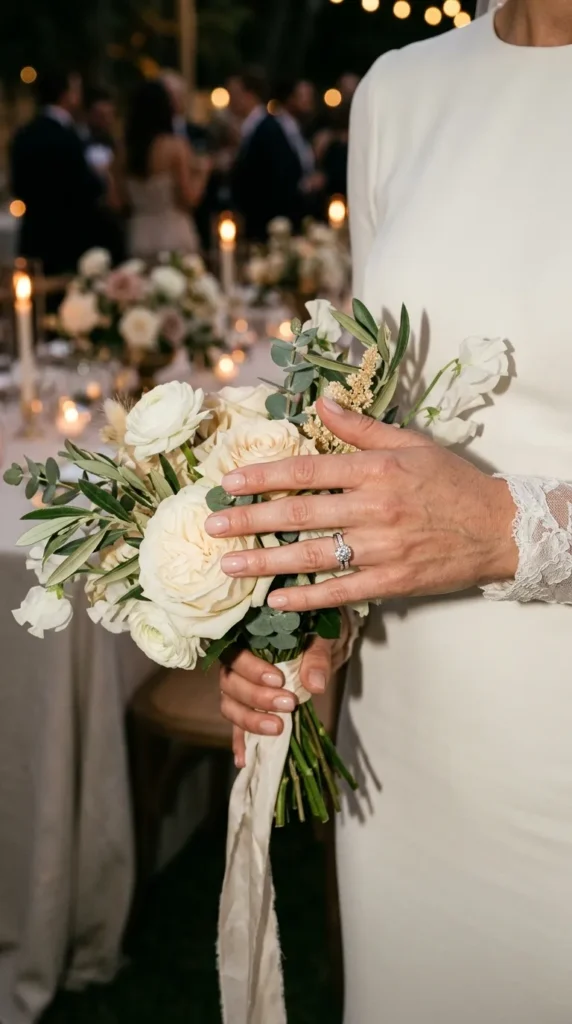
Your engagement ring and wedding band will appear in countless close-up photographs, so naturally you’ll want your hands looking perfect.
When putting on jewelry, avoid dragging rings across your nails.
If you’re wearing bracelets, watches, or clothing with intricate fasteners, take an extra moment when putting them on.
This is especially important if you’ve chosen delicate nail art or longer extensions.
11. Moisturize Without Overdoing It
Healthy-looking hands make any wedding manicure look better.
Use hand cream regularly and apply cuticle oil to the skin around your nails. This can help keep the area looking neat and cared for.
However, immediately before applying traditional polish, your nail technician will usually need the nail surface free from oils so the polish can adhere properly.
Follow your technician’s preparation instructions rather than applying heavy oils right before your appointment.
12. Treat Your Nails Gently During the Reception
Once the wedding begins, forget about your manicure as much as possible—but be mindful of a few things.
Avoid using your nails to open packages, scrape labels, remove stickers, or pry objects apart.
When opening bottles or handling anything difficult, use an appropriate tool instead.
And when you’re holding your bouquet, carrying your clutch, or dancing with your partner, enjoy the moment without constantly worrying about your nails.
A good manicure should be able to handle normal wedding-day activity.
What to Do If a Nail Chips
Don’t immediately peel or bite the damaged area.
For a small chip, gently smooth the edge with a fine nail file. If you have matching polish, carefully touch up the affected area once the nail is clean and dry.
For gel, acrylic, extensions, or significant lifting, contact your nail technician if possible. Trying to peel or remove the product yourself can damage the natural nail.
The goal is to fix the problem—not turn one small chip into a bigger one.
Final Thoughts
Keeping your wedding nails chip-free all weekend starts well before the ceremony. Healthy nail preparation, smart manicure timing, proper drying, gentle handling, and a small emergency kit can help your nails stay beautiful through every important moment.
Choose a manicure that fits your wedding style and your real plans for the weekend. Then protect it where you can and let yourself enjoy the celebration.
Because your hands will be photographed countless times—from the ring exchange to the bouquet toss—those little details deserve to look just as polished as the rest of your bridal look.